How to Perform a Material Test on an Electronic Belt Scale
Accurate weighing plays a vital role in multiple industries. Whether it is manufacturing, food processing, or pharmaceutical production, precise weight measurement is the basis for ensuring product quality and compliance. As a key device in the continuous weighing process, electronic belt scales can achieve fast and continuous material weighing, improve production efficiency, and reduce human errors. However, in order to ensure the accuracy and reliability of these electronic belt scales, regular material testing is very necessary. Through these tests, potential problems can be discovered and corrected in time to ensure that the weighing system is always in optimal working condition.

Part 1: Preparation for the Material Test
Equipment Overview
- Calibration Weights: Standardized weights are used to verify the accuracy of the belt scale.
- Test Materials: Specific substances or items that will be weighed during the test.
- Safety Gear: Protective equipment such as gloves, eyewear, and hard hats to ensure operator safety.
- Cleaning Supplies: Tools to clean the belt scale and surrounding area to prevent debris from affecting the measurement.
- Power Source: A reliable power supply to activate the electronic components of the belt scale.
- Documentation: Records for calibration results, test parameters, and observations.
Preparing the Electronic Belt Scale for Testing
- Cleanliness Check: Inspect the belt scale and its surroundings for any dirt, dust, or foreign objects that could interfere with the weighing process. Clean the area as necessary.
- Power On: Ensure that the belt scale is connected to a stable power source and turned on. Allow the system to warm up if required, as some electronic scales may need time to stabilize.
- Obstruction Removal: Verify that there are no obstructions along the belt path that could impede the movement of materials or cause inaccurate readings.
Calibration Check Before the Test
- Zeroing the Scale: With no load on the belt, confirm that the scale displays a zero reading. If not, adjust the zero setting according to the manufacturer’s guidelines.
- Verification of Calibration: Apply known calibration weights onto the moving belt and compare the scale’s readings against the actual weights. Make any necessary adjustments to align the scale’s measurements with the standard values.
- Recording Initial Readings: Document the initial calibration settings and any adjustments made for future reference and quality control purposes.
Part 2: Execution of Material Test
How to Load the Test Material onto the Belt Scale?
- Preparation: Make sure the belt scale is in a stable working state, check whether all sensors and instruments are working properly, clean the belt surface, and ensure that there is no debris affecting the weighing accuracy.
- Turn on the system: Turn on the power of the belt scale and let the system warm up to a stable state, which usually takes a few minutes.
- Set parameters: Set the relevant parameters of the belt scale, such as belt speed, flow range, etc. according to the characteristics of the test material.
- Load the material: Place the test material evenly in the feeding area of the belt to ensure that the material is evenly distributed and avoid measurement deviation caused by excessive weight on one side.
- Start the operation: Start the belt and let the material move with the belt. At the same time, observe whether the material is evenly distributed and make adjustments if necessary.
How to Start the Belt and Monitor Its Operation?
- Start the belt: According to the operating manual of the equipment, start the belt smoothly to avoid sudden acceleration that may cause material splashing or accumulation.
- Monitor the operation: Observe the operation of the belt, pay attention to any abnormal sounds or vibrations, and check whether the material flows smoothly without blockage.
- Recording data: Use a dashboard or computer system to record real-time data from the belt scale, including key indicators such as material weight and flow.
How to Observe and Record Weight Measurements at Different Intervals?
- Scheduled sampling: Set a fixed sampling time interval, such as recording weight data every minute or every five minutes.
- Continuous monitoring: Use a continuous monitoring system to record material weight changes in real time to analyze fluctuations in material flow.
- Data recording: Ensure that the recorded data is accurate, including information such as date, time, material type, and operator.
How to Introduce a Known Amount of Material to Verify the Accuracy of the Scale?
- Calibration material: Prepare a batch of standard materials of known weight to verify the accuracy of the belt scale.
- Gradually add: Add standard materials to the belt gradually, and record the reading of the belt scale after each addition.
- Comparative analysis: Compare the actual measurement value with the weight of the standard material, calculate the deviation percentage, and evaluate the accuracy of the belt scale.
- Adjustment and correction: If the deviation is found to be beyond the allowable range, the test should be stopped and the belt scale should be calibrated until the required accuracy is achieved.
Through the above steps, material testing can be effectively performed and the accuracy and reliability of the belt scale can be ensured. Throughout the process, it is crucial to keep accurate records of data and closely monitor the equipment.
Part 3: Analysis of Test Results
When analyzing belt scale test results, you first need to compare the recorded weight measurement with the expected value to determine if a discrepancy exists. Here are guidelines for interpreting weight measurements and steps on how to identify and deal with discrepancies:
1. Interpret Weight Measurements
- Compare expected and actual values: Compare each measured weight value to a preset expected value. Expected values may be based on historical data, theoretical calculations, or other reliable sources.
- Consider measurement error: All measuring equipment has a certain margin of error. Understanding the accuracy and error range of a belt scale is critical to interpreting measurements.
2. Identify Differences and Their Potential Causes
- Calculate deviation: Determine whether there is a significant deviation by calculating the difference between the actual measured value and the expected value.
- Analyze trends: Observe the trend of measurement values over time to see if there is continued overestimation or underestimation.
- Check environmental factors: Consider the impact that temperature changes, humidity, vibration, and other environmental factors may have on the measurement results.
- Assess equipment condition: Check the belt scale for signs of damage, wear, or need for calibration.
- Review the operating process: Confirm whether the operator is using the belt scale correctly and whether there is any improper operation that leads to measurement errors.
3.Procedure for Adjusting the Belt Scale
- Recalibrate: If systematic inaccuracies are detected, the belt scale should be recalibrated. Calibration procedures should follow the manufacturer’s guidance or industry standards.
- Update the maintenance plan: Adjust the maintenance plan based on discovered problems, such as increasing cleaning frequency, checking sensors regularly, etc.
- Train operating personnel: If the problem is caused by improper operation, the relevant personnel should be retrained to ensure that they understand the correct operating procedures.
- Recording and Monitoring: Implement a recording and monitoring system to track adjusted measurements and ensure issues are resolved effectively.
When performing the above analysis and adjustments, it is important to maintain the integrity and accuracy of the records, which will help provide reference in future analyses, and ensure the long-term stability and reliability of the belt scale. At the same time, regular performance verification is necessary to ensure continued measurement accuracy.
Part 4: Post-Test Maintenance and Records
Cleaning and Maintenance Recommendations
- Cleaning: Remove dust and debris from the belt scale regularly, especially from the load cell and roller areas to prevent accumulation that could affect measurement accuracy. Use a soft brush or compressed air to clean, and avoid using hard objects or corrosive chemicals that could damage the surface of the equipment.
- Mechanical component inspection: Inspect the belt for wear, cracks, or other damage, and replace it if necessary. Make sure all fasteners, such as bolts and screws, are secure and not loose.
- Lubricate moving parts: such as roller bearings, using the manufacturer’s recommended lubricant type and period.
- Electrical component inspection: Check that cables and connectors are intact and free of damage or aging. Make sure that all control panels and switches function properly, with no unusual noise or signs of overheating.
- Calibration and adjustment: If accuracy deviations are found during testing, calibration adjustments should be made as needed.
Importance of Recording Test Results, Adjustments Made, and Any Observations
- Quality Control: Recording test results helps track the performance of the belt scale as part of quality control. By comparing historical data, potential trends or issues can be identified and corrective actions can be taken promptly.
- Compliance and Audits: Detailed records are proof of compliance with industry standards and regulatory requirements and are essential for audits and compliance checks. They provide transparency into operations and help track down the cause when problems arise.
- Maintenance Scheduling: Recording adjustments made and observations made help develop more effective maintenance schedules. Based on the recorded data, it is possible to predict when the next maintenance or part replacement may be required.
Schedule Future Tests
- Periodic testing: Set a fixed test period, such as monthly, quarterly, or annually, based on industry standards or manufacturer recommendations. Make sure the frequency of testing matches production needs and equipment usage intensity.
- Testing in special situations: After major events (such as equipment moves, repairs, or extreme weather conditions), additional testing should be performed promptly to verify belt scale performance.
- Preventive maintenance: Combine test results with maintenance records to develop a comprehensive preventive maintenance plan to reduce the risk of unexpected failures.

Choose Bincen as Your Partner
In the previous article, we described in detail how to conduct material testing on electronic belt scales, which is critical for improving accuracy.
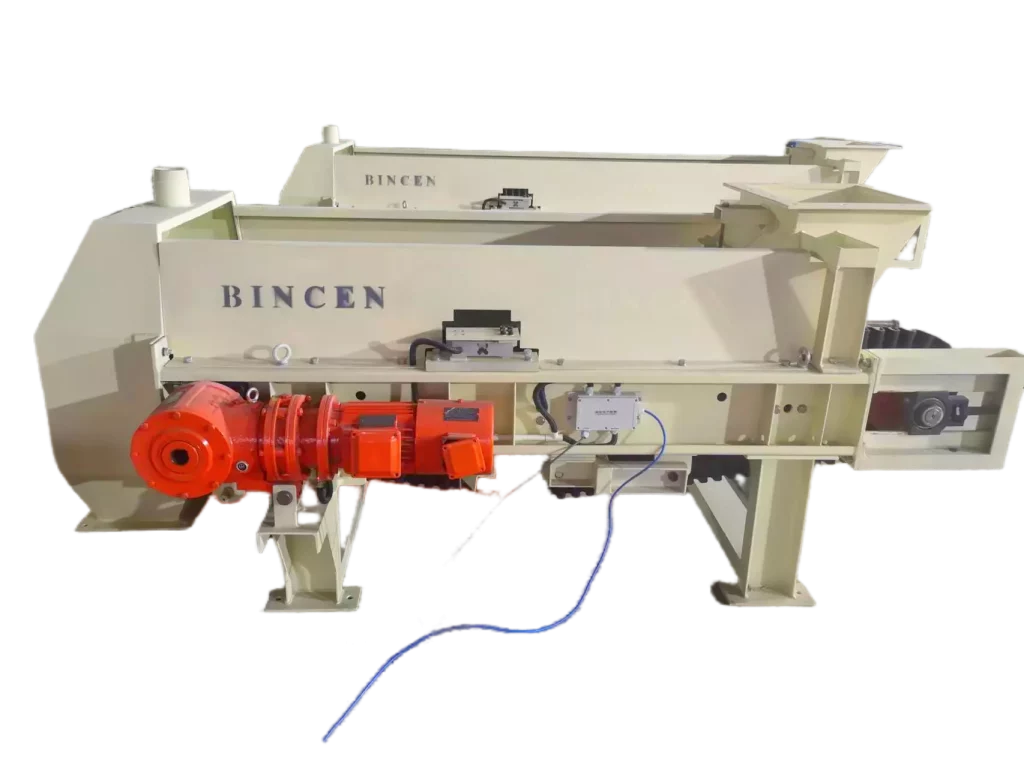
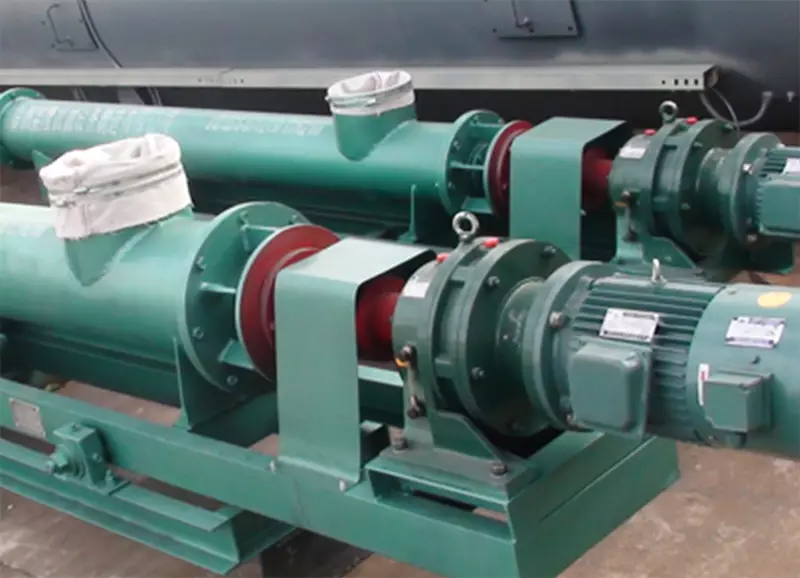
Bincen is a high-tech company that specializes in electronic scales, weighing instruments, control systems, and electromechanical and automation equipment. The electronic belt scale is one of our best-selling items. We can provide you with various types of belt scales. Our belt scales feature a weighing bridge with a load cell beneath the belt to measure weight, a speed sensor to monitor belt movement, and a control system to calculate flow and total weight. They are also frequently used with feeders such as screw feeders and can be integrated with centralized and decentralized control systems for weighing and conveying, resulting in automated material handling in the manufacturing process.
Our products have been sold all over the world for the past two decades. As a team with expert knowledge and first-rate service, we can continue to provide you with product-related advice. When you choose us, you not only get high-quality conveyor belt weighers but also more professional advice.

